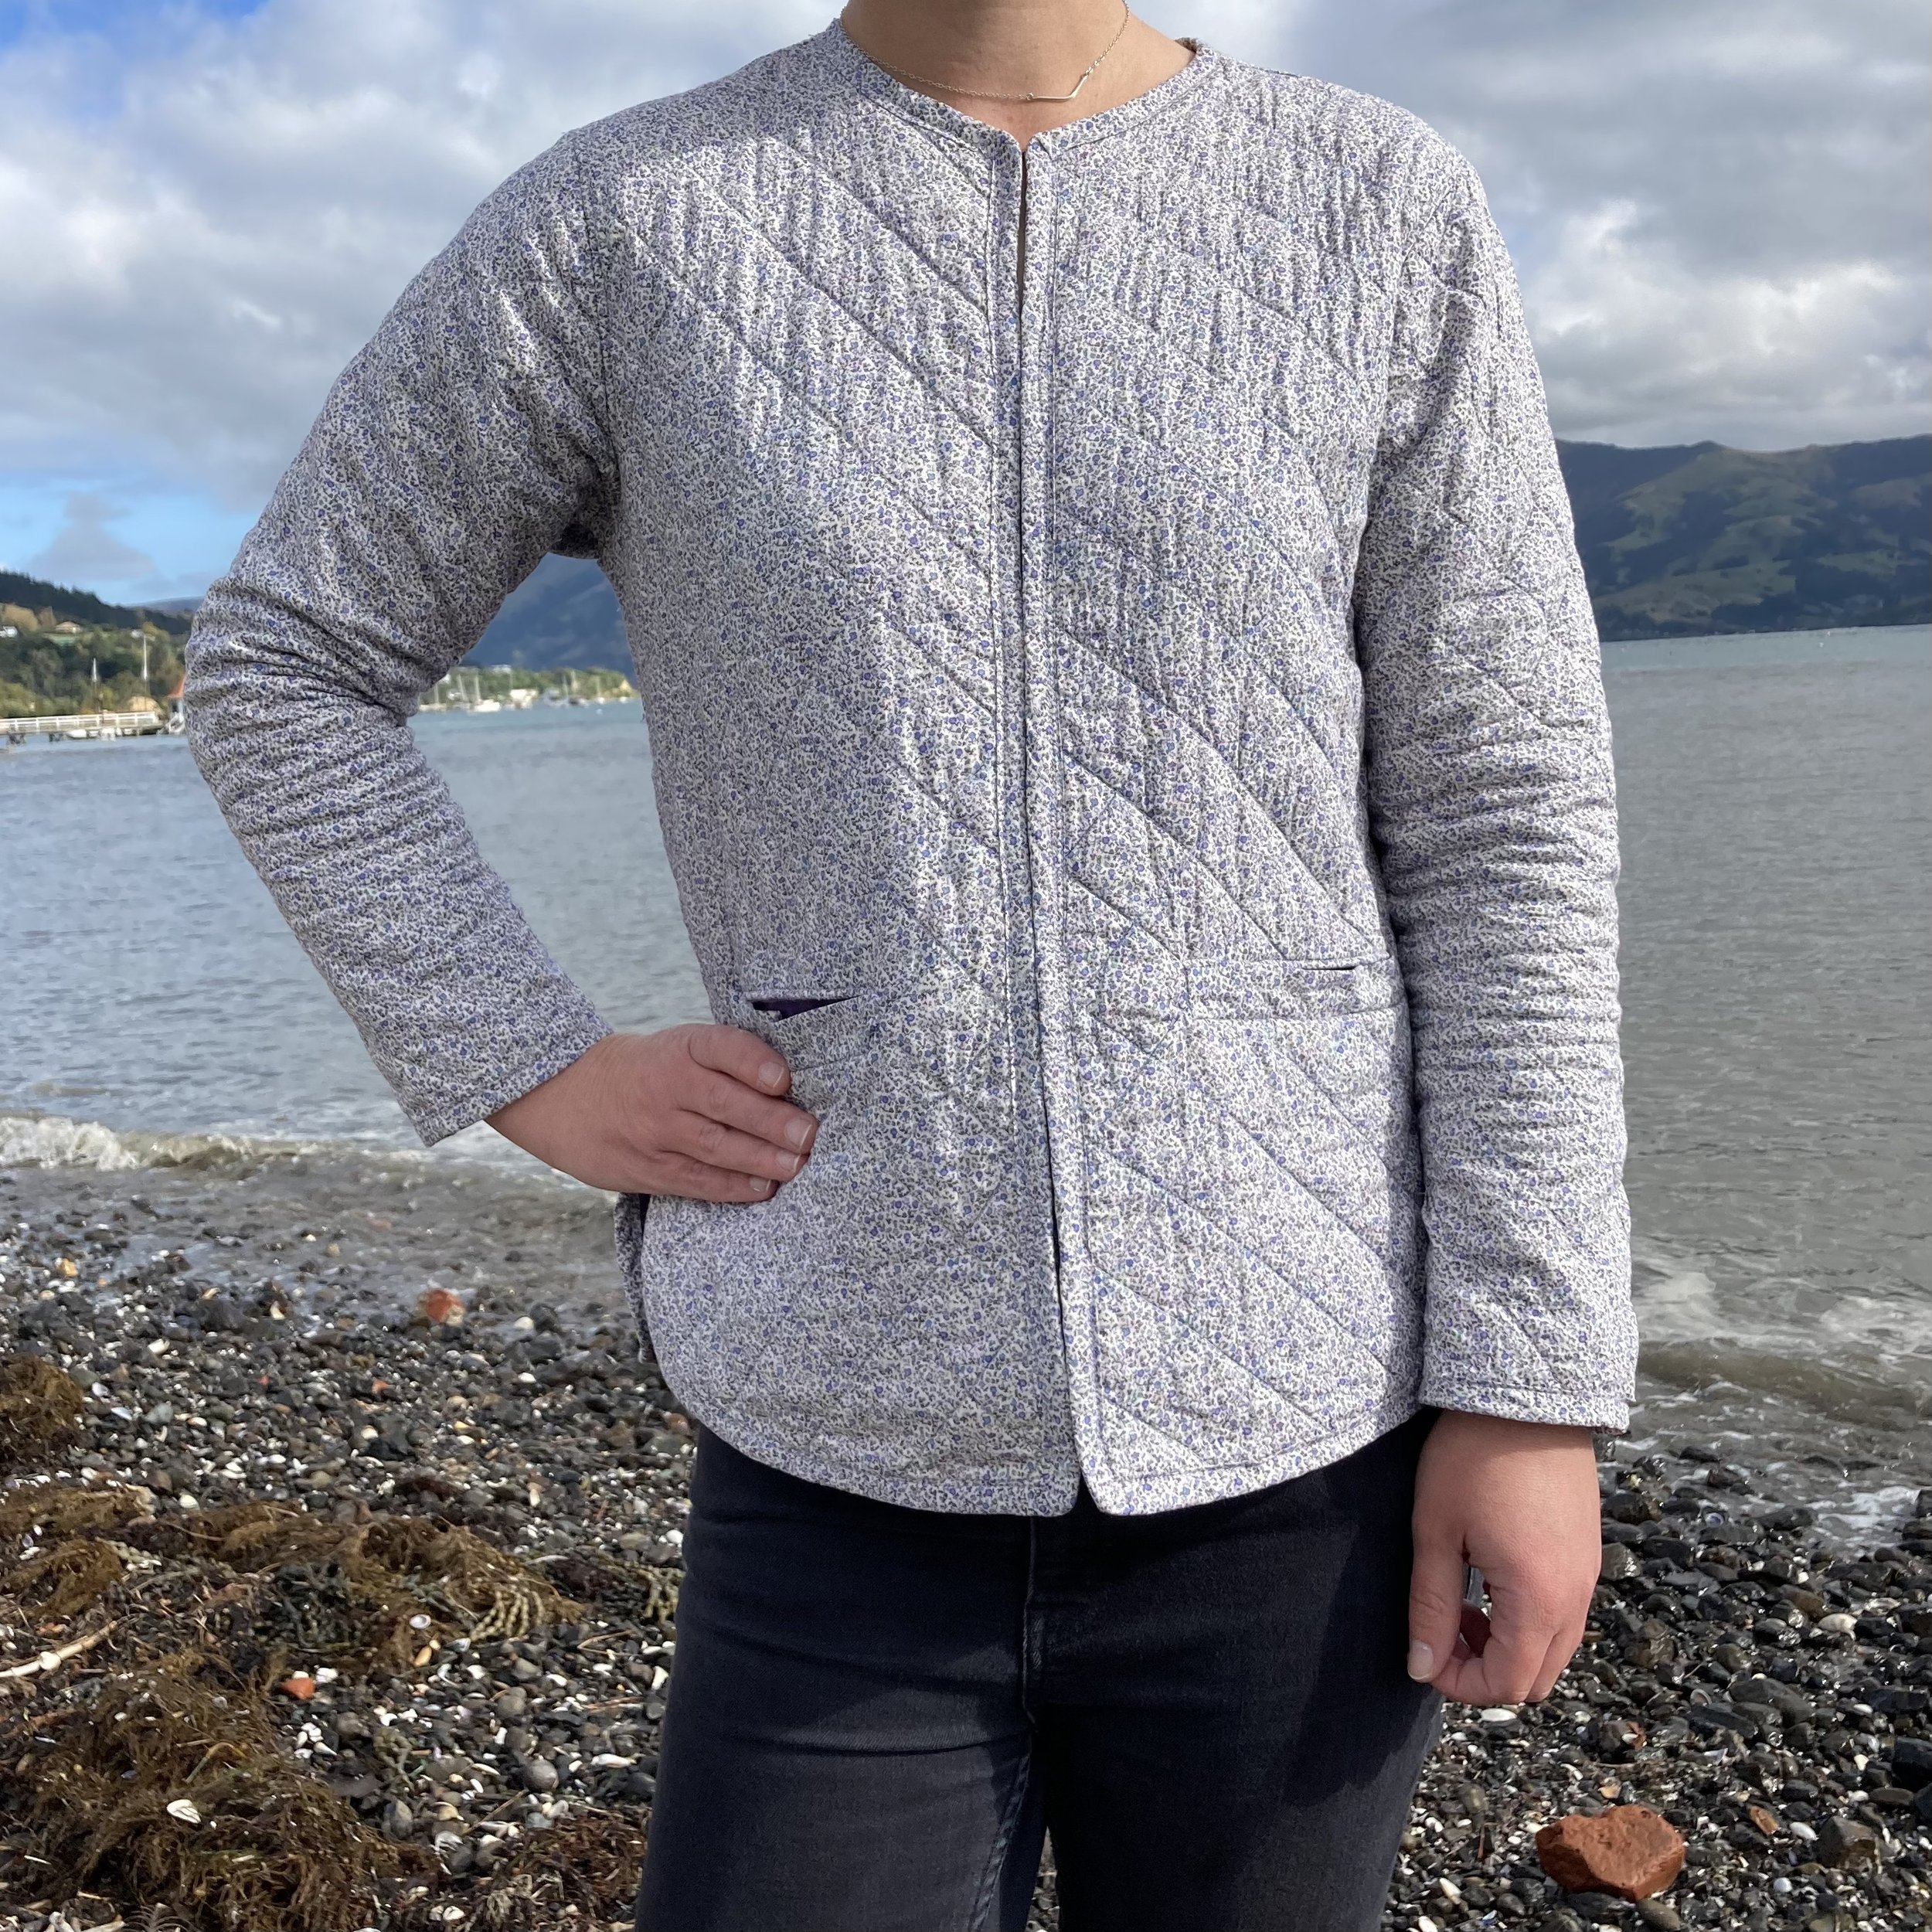
English Garden Tamarack Jacket
Front view of Tamarack Jacket in Liberty of London Tania Lawn
Pattern: Tamarack Jacket by Grainline Studio
Pattern Size: 2
My Measurements: Bust 85cm; Waist 71cm; Hips 83cm
Pattern Adjustments: None
Fabric: Main - Liberty of London Tania Lawn; Lining - Amethyst linen, both fabrics from The Fabric Store
Label: Slow Fashion by Kyle and the Machine
Machines: Brother Galaxie and 3034D Lock Overlocker (Bother)
Probably the longest WIP I have ever completed, this jacket was cut out over three years ago, partially quilted and then left folded in a WIP pile as I completed my PhD. I typically do not put down and pick projects back up, I prefer to complete a project from start to finish in one hit, otherwise procrastination hits, but it is so wonderful to have this jacket completed, perfectly timed for the transitioning season.
The main fabric is a beautiful fine purple flower print by Liberty of London in their signature Tania Lawn purchased from the Fabric Store many moons ago. This was paired with some stash amethyst linen, not enough to line the whole jacket but enough for the body, providing a bold contrast to the fine print. The sleeves were lined with main fabric.
I cut a size 2 pattern with no adjustments. The jacket itself is quilted, with wonderfully written and detailed instructions stepping you through the process of quilting each pattern piece together. I chose Quilting Diagram B; 45 degree diagonal lines spaced 1.5 inches apart by first practising on a scrap piece of main, batting and lining fabric (this was also a great way to test thread colour combinations). A single layer of bamboo batting was used between the main and lining fabric, providing enough warmth for the transitioning temperature, but reducing excess bulk. For ease I overlocked all pattern pieces once quilted, this could be my OCD brain, but I found having finished edges easier to work with post quilting.
Just a word of warning for those that like to leave projects, all quilting lines were marked with tailors chalk (blue), unfortunately when left for an extended period of time (cough cough, a few years) this stained the fabric, even post washing. I am thankful it is not entirely obvious, but a lesson learned for the future.
The first construction step post quilting is the formation of the welt pockets, I have never actually constructed welt pockets before so this was a learning experience and one I took very slowly. Each designer has their own method of constructing welt pockets, I found the Grainline Studio method methodical, clean and well laid out. There is some hand sewing required post construction, but this provided a nice opportunity to tidy up any misalignment and “clean” the finish up in a way the machine cannot accomplish. I would recommend overlocking or finishing the straight edge of the upper and bottom pocket pieces particularly if these fabrics fray, although contained within the construction, finishing these edges cleaned up the construction and will extend the longevity of the garment.
Along with the bias seam finishing around the neckline, opening and hem of the garment I finished the pocket seam allowance with home-made bias binding from the main Tania Lawn fabric. The sleeves and side seams were finished with the overlocker, and the addition of bias binding was added to the shoulder to conceal the overlocked seam.
I completed the jacket with View A, hook and eyes. These are positioned 4 inches apart, I was a little sceptical of the placement but am extremely happy with how it looks closed, no additional hook and eyes were required. As this project was a slow one to finish I thought the addition of the Slow Fashion label fitted the garment well. I still cannot believe this project is finished, it is one I was very excited to begin, and have dreamed of. I am still thrilled with my fabric choice and hope that it becomes a wardrobe staple this autumn.


